Food
The Ultimate Philadelphia Cream Cheese Cheesecake Recipe

Few desserts deliver the same quiet satisfaction as a properly made cheesecake. Rich yet light, smooth yet substantial, it sits somewhere between cake and custard. At the heart of the most reliable versions sits Philadelphia cream cheese. The brand has become almost synonymous with the dessert itself, and for good reason. Its consistent texture and mild tang form the backbone of a classic Philadelphia cream cheese cheesecake recipe that home cooks return to again and again.
This guide walks through a dependable baked version, complete with a buttery biscuit base, practical tips for avoiding cracks, and simple ideas for finishing. Whether you are baking for a family gathering or simply want something special at the weekend, the method is straightforward and the results are reliably creamy.
A Brief History of Philadelphia and Cheesecake
Philadelphia cream cheese was developed in the late nineteenth century in New York State, not the city whose name it carries. Dairyman William Lawrence created a richer version of Neufchâtel cheese by adding extra cream. The name “Philadelphia” was chosen because the city then enjoyed a reputation for high-quality dairy products. The brand later became part of Kraft and spread worldwide.
Cheesecake itself has far older roots, stretching back to ancient Greece and Rome. The modern American-style baked cheesecake, however, took shape in the twentieth century. Philadelphia’s block cream cheese proved ideal for the dense, smooth filling that characterises the style most people recognise today. In the UK the same product works beautifully, though many cooks prefer digestive biscuits for the base rather than graham crackers.
The result is a dessert that feels both classic and adaptable. A good Philadelphia cream cheese cheesecake recipe sits comfortably on a dinner-party table or as an everyday treat.
Ingredients for the Classic Recipe
This version serves 12–16 and uses a 23 cm springform tin. Measurements are given in metric for UK kitchens, with approximate imperial equivalents.
For the base
- 200 g digestive biscuits, crushed
- 75 g unsalted butter, melted
- 1 tablespoon caster sugar (optional)
For the filling
- 600–900 g full-fat Philadelphia cream cheese (three or four 200–225 g packs), softened to room temperature
- 200–250 g caster sugar
- 3–4 large eggs, at room temperature
- 1–2 teaspoons vanilla extract
- Optional: 150–200 ml sour cream or full-fat crème fraîche for extra silkiness
- Optional: 1–2 teaspoons lemon juice or a little finely grated lemon zest for brightness
The classic Philadelphia recipes often use three 8 oz (about 225 g) packs of cream cheese with three eggs, or four packs with four eggs. Both work. Adding a little sour cream produces a slightly lighter, more luxurious texture. Always choose the full-fat block version rather than the soft tubs sold for spreading; the latter contain more water and can affect the set.


Step-by-Step Method
Preheat the oven to 160 °C fan / 180 °C conventional / gas mark 4. Line the base of a 23 cm springform tin with baking parchment and lightly grease the sides.
Crush the digestive biscuits finely, either in a food processor or by placing them in a sealed bag and bashing with a rolling pin. Mix thoroughly with the melted butter and optional sugar until the crumbs resemble wet sand. Press the mixture firmly and evenly into the base of the tin, using the back of a spoon or a straight-sided glass. Chill while you prepare the filling, or bake the base alone for 8–10 minutes if you prefer a crisper result. Allow it to cool slightly.
Place the softened cream cheese in a large mixing bowl. Beat on medium speed with an electric mixer until completely smooth and free of lumps. This stage is important; cold cream cheese will leave streaks. Gradually add the sugar and continue beating until the mixture is light and creamy. Scrape down the sides of the bowl frequently.
Add the vanilla and, if using, the lemon juice or zest. Beat briefly to combine. Then add the eggs one at a time, mixing on low speed after each addition only until just incorporated. Over-beating at this point incorporates too much air and can cause cracks later. If using sour cream, fold it in gently at the end.
Pour the filling over the prepared base and smooth the top. Tap the tin gently on the work surface a few times to release any large air bubbles.
Bake for 50–70 minutes, depending on the exact quantity of filling and your oven. The cheesecake is ready when the edges are set but the centre still has a gentle wobble, similar to set jelly. It will continue to firm as it cools. An internal temperature of around 65–70 °C in the centre is a useful guide if you have a probe thermometer.
Turn the oven off, open the door slightly, and leave the cheesecake inside for 30–60 minutes. This gradual cooling helps prevent cracks. Remove it from the oven and run a thin knife around the edge to loosen it from the tin. Cool completely on a wire rack, then refrigerate for at least four hours, preferably overnight.
Tips for a Smooth, Crack-Free Result
Room-temperature ingredients are essential. Cold cream cheese or eggs create lumps and can lead to uneven baking. Softening the cream cheese thoroughly and mixing on low speed once the eggs are added minimises air incorporation.
Avoid opening the oven door during the first 40 minutes of baking. Sudden temperature changes encourage cracks. A water bath (placing the springform tin inside a larger roasting tin filled with hot water) offers extra insurance, though many successful versions are baked without one when the cooling process is managed carefully.
Do not over-bake. The centre should still jiggle slightly; it sets fully in the fridge. Once chilled, the cheesecake can be left in the tin until serving or carefully released and transferred to a plate.
Serving Suggestions and Variations
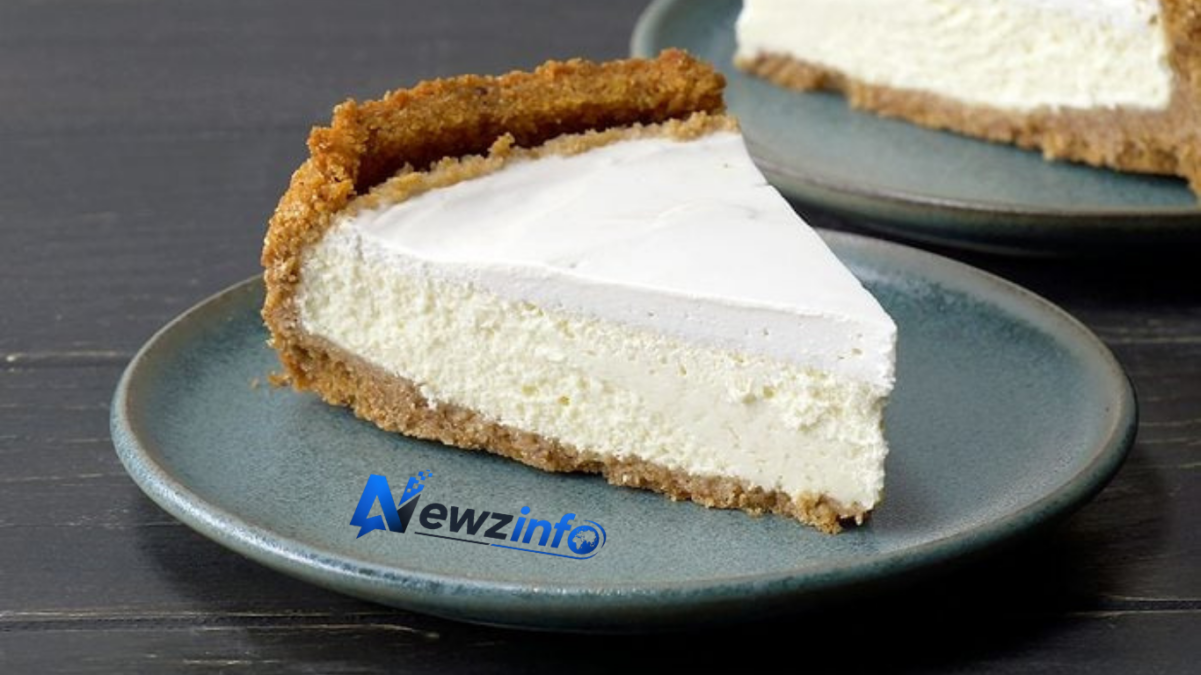
A plain Philadelphia cream cheese cheesecake needs little adornment. Fresh berries, a simple berry compote, or a drizzle of salted caramel all work well. Classic cherry pie filling remains popular for a traditional finish. For a lighter option, top with lightly sweetened whipped cream and seasonal fruit just before serving.
Variations are easy. Swap digestives for ginger biscuits or chocolate digestives for a different base. Add a swirl of fruit purée or melted chocolate before baking. For a no-bake version, omit the eggs, increase the cream cheese slightly, and set the filling with a little gelatine or by relying on the cream cheese and whipped cream alone. Baked versions, however, deliver the denser, more traditional texture many prefer.
In the UK the soft Philadelphia sold in tubs can be used for no-bake styles, but the firmer block product remains preferable for baking.
Storage and Make-Ahead Advice
The finished cheesecake keeps well in the refrigerator for up to five days, covered loosely. It also freezes successfully for up to a month if wrapped tightly. Thaw overnight in the fridge. Freezing before adding any fruit topping is best.
Because the recipe benefits from overnight chilling, it is an excellent make-ahead dessert. Prepare it the day before a gathering and finish the presentation just before serving.
Why This Recipe Continues to Please
The appeal of a well-made Philadelphia cream cheese cheesecake recipe lies in its balance. The tang of the cream cheese cuts through the sweetness, the biscuit base provides contrast, and the dense yet creamy filling feels luxurious without being heavy. It is forgiving enough for confident beginners yet capable of producing results that impress experienced bakers.
Conclusion
Success depends less on special equipment than on attention to temperature, gentle mixing, and patience during cooling. Once those fundamentals are understood, the method becomes second nature.
Whether served plain with a cup of tea or dressed up for a celebration, this cheesecake remains a reliable favourite. The combination of quality cream cheese and simple technique produces a dessert that feels both comforting and special.